While the original file will look correct when viewing with quicktime and other video players or editing software, iMovie sees things differently. One very easy solution is to re-save the file in Quicktime.
Here are the simple steps:
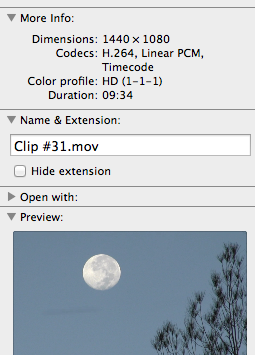
1. Start with a 1440 x 1080 file.
2. Double click the video file to launch in Quicktime.

3. From the file drop-down menu in Quicktime, select "Export..." or for a fast keyboard shortcut,
APPLE - SHIFT - S
4. Change the file name if saving in the same folder to avoid overwriting the original file.
Note*
Changing the file name by adding "A" before the .mov is a good idea. If you have a power disruption while overwriting, the original file could be damaged or deleted. When converting a large number of files, this comes in handy. You will have the original file "Clip#31.mov" and the new file, "Clip#31A.mov"
5. In this drop down menu, select the resolution of 1080p (you can select
smaller versions if you are working on a lower resolution video)
6. Click Export
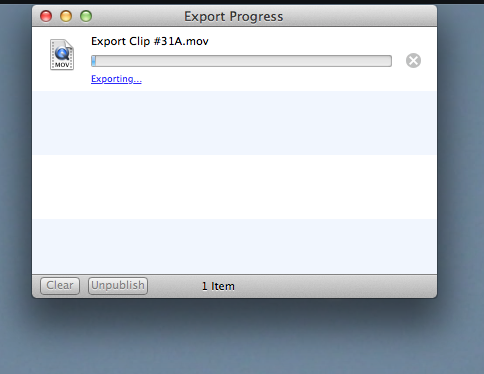
 The export window will show the progress. This process takes about one minute per 200 MB file sizes with a 2.5 GHz processor. If you are ripping many files, you can open a second file, rename, set the resolution and export. The Export progress window will display up to four files. I have noticed that this is processor intensive when more than four files are ripping simultaneous and your computer will be very slow. So just let em rip and get some tea.
The new file size will increase by roughly 30% as the 1440 is converted into a full 1920 file. This has to do with the way 1440 files are compressed and automatically expanded through to 1920 with video readers and editors that understand 1440.
7. Drag and drop the new file to iMovie.
The original video file "Clip#31" to the left (not selected) has the scrunched format. The new video file "Clip#31A" now fills the entire HD-1080i format for iMovie. The video quality is not compromised with this process and even though the new file is larger, it will import into iMovie faster than the original file.
If you are an iMovie 6 holdout like me, this easy process will save the day should you shoot something in 1440.


No comments:
Post a Comment